Some bikes roll into the shop with a story attached. This Motobecane has a great one.
In the early 1970s, its owner rode it from Illinois to Maine. Since then it’s been loaned out to family and friends for everything from fun rides to everyday utility. Decades of use will do that: a bike becomes more than a bike. It becomes the thing you reach for when you need to get somewhere.
Over the years, though, life happens. The Motobecane slowly slipped from “ready to ride” into “it’s been a while.” The owner brought it in with a simple request: get it ridable again.
And that set the tone for the whole project.
This wasn’t meant to be a museum-piece, “as original” restoration. It also wasn’t an “upgrade everything” build aimed at daily commuting. The goal was practical and respectful: preserve what makes the bike *itself*, address what time and weather had taken away, and bring it back to the kind of ride you’d feel good handing to a friend.
The Tear-Down
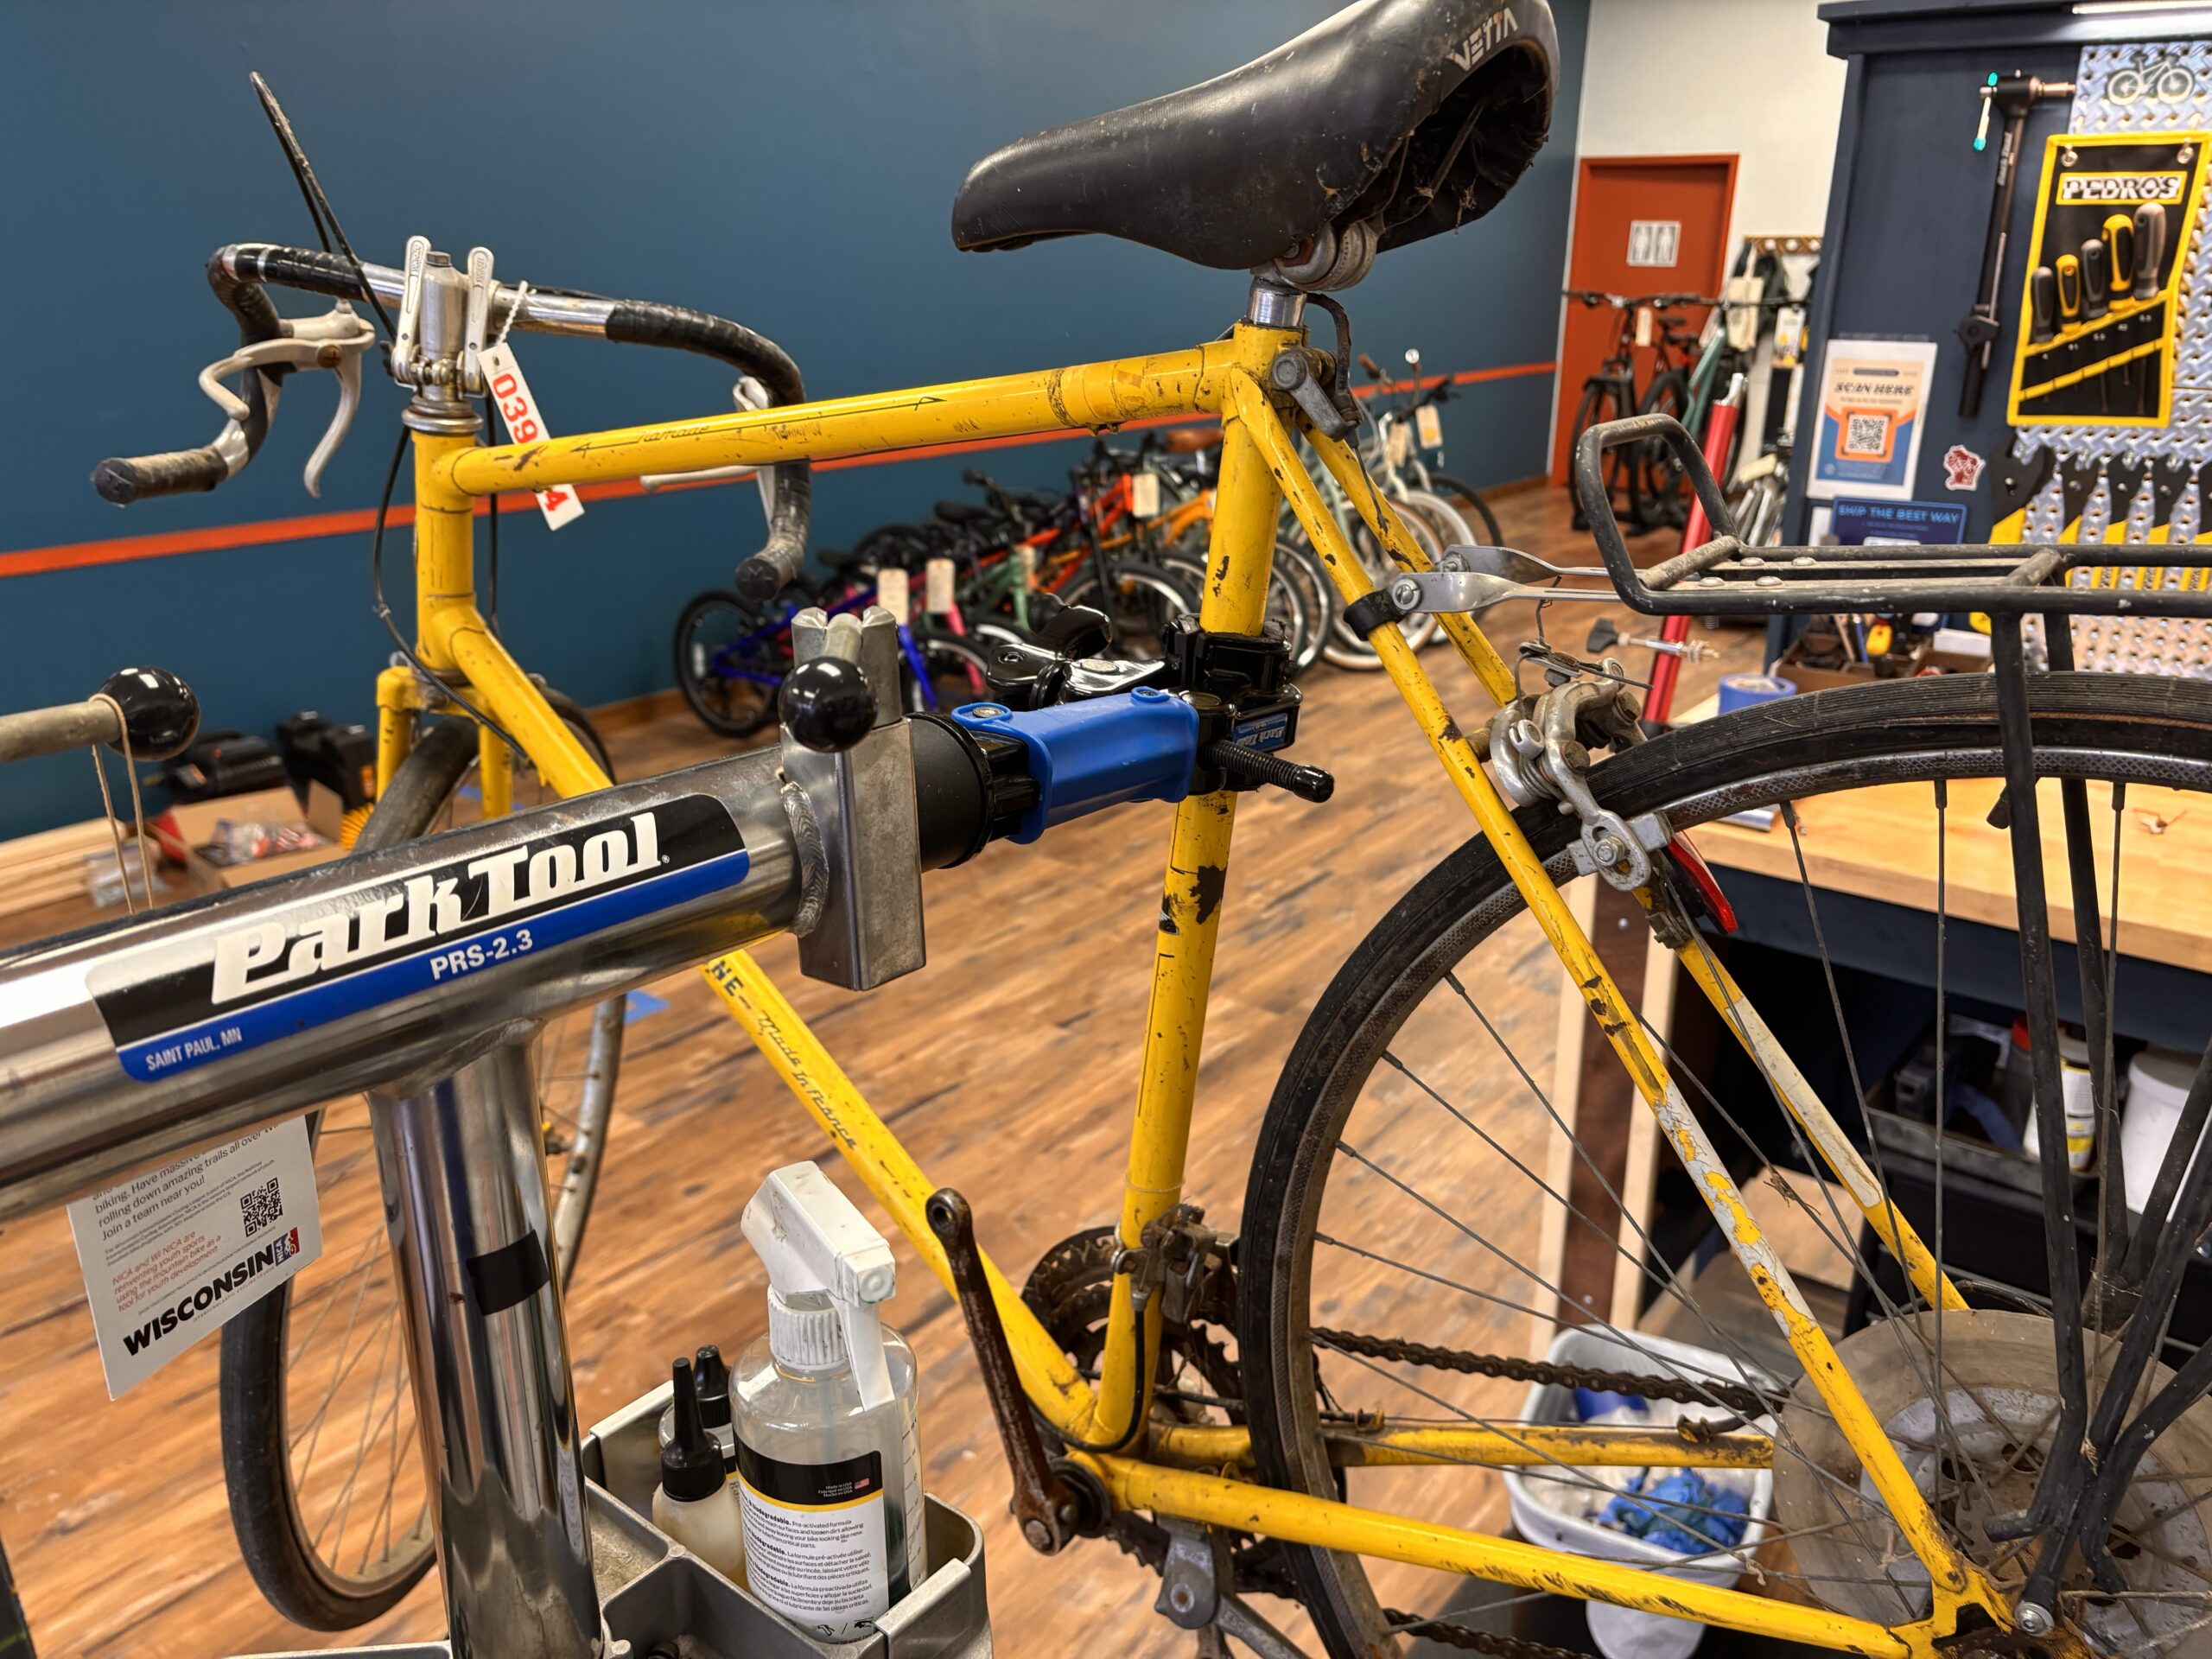
We started the way we often do with older bikes: take it all the way apart.
Piece by piece, everything came off and went onto the bench. This Motobecane is from the era of cottered cranks, and that’s always a reminder of how differently bikes were built (and serviced) back then. From there we worked through the full set of “old bike essentials”:

Cottered cranks
Bottom bracket
Hubs
Headset
All the chrome bits needed some care. Years of exposure had left rust behind, and the mission was to bring back the shine without pretending the bike hadn’t lived a life. The bearings needed the same kind of attention: degrease, clean, inspect, and get everything ready for proper lubrication again.

Then we got to the derailleurs.
The rear was so packed with mud and grime it was hard to tell where the dirt stopped and the mechanism started. That’s not uncommon on a bike that’s been used, stored, used again, and then stored again. It’s also one of those moments where you know the job isn’t a quick wipe-down. If you want the shifting to be trustworthy, you’ve got to get the parts clean enough to move the way they were designed to move.
The Plan
Some parts on a project like this are simply consumables. Even if everything else is salvageable, you don’t gamble with the basics.
From the start, the plan was to replace:
- Pedals
- Bar tape
- Tires and tubes
- Brake pads
- All cables and housings
Those items do a lot of the “feel” work on a bike. Fresh tires and pads turn “sketchy” into “confident.” New cables and housing can make old components behave like they’ve had a second chance.
Cleaning Takes Time
If there’s one theme that showed up early with this Motobecane, it was this: cleaning took multiple passes.

First pass: remove the obvious grime and get things separated.
Second pass: get into the details, the cogs, the threads, the bearing surfaces.
Third pass: the final “shop clean,” where you start seeing metal again instead of old grease and grit.
Only after everything was laid out on the bench—cleaned, organized, and accounted for—could we shift from teardown mode into rebuild mode.
That’s the moment the project changes. The mess turns into a plan.
Next up: putting the Motobecane back together and turning a bike with a long history into a bike ready for its next chapter.


